Moving Data Between Tools via GenomeSpace
Introduction
This guide is an overview of how to send data from one GenomeSpace-enabled tool to another GenomeSpace-enabled tool. This guide describes methods for moving data around using GenomeSpace, and is not meant to be comprehensive documentation for the given tools. For more information on each tool, see the list of GenomeSpace tools and the help links provided on each tool's page.
If you are having problems launching certain desktop tools, which depend on the Java Network Launch Protocol (JNLP), see FAQ2.2 for solutions. These solutions were updated February of 2015, and should take you about five minutes to incorporate. They involve adjusting your browser pop-up blocker and system's Java security exception site list.
For tool-specific documentation, check out the main Tool Guide:
Tool Guide
Send Data from GenomeSpace to a Tool

The GenomeSpace tools are analytical applications that are set up to receive data files from GenomeSpace. (As opposed to GenomeSpace data sources, which only export data files TO GenomeSpace.)
1. Direct your file to a tool.
There are several methods for sending files to a tool:
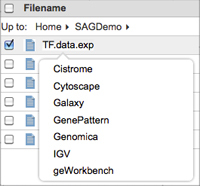
You can left-click the file and select the tool to which you want to send it.
OR
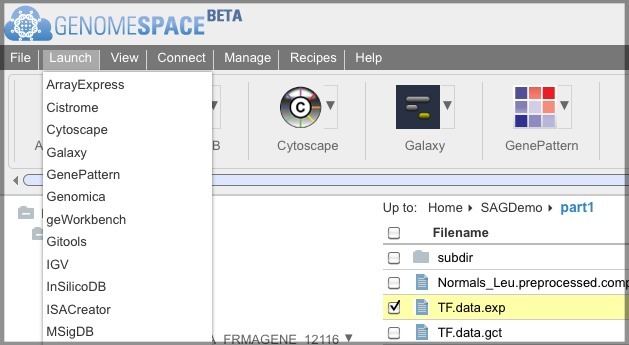
You can select the file checkbox and select Launch>[Tool].
OR
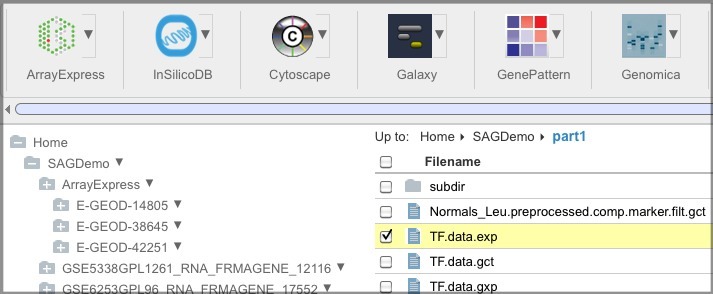
You can select the file checkbox and click the tool button.
OR
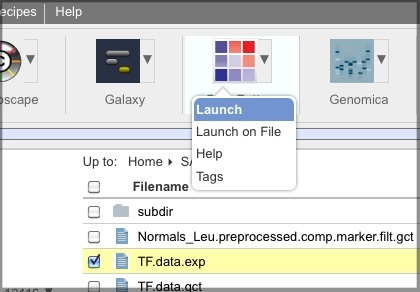
You can select the file checkbox, click the triangle next to the tool, and select Launch on File.
OR
You can drag the file to the tool button.
2. Are there more files you want to send?
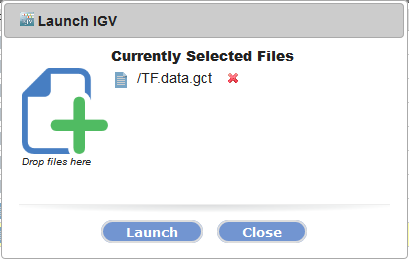
All of these options will open a dialog box with a target field. Drag other files you want to send to the tool to the target field.
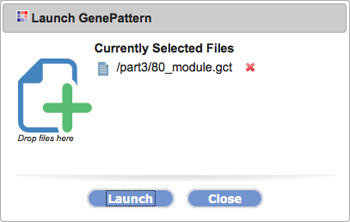
3. Click Launch.
Send Data from ArrayExpress to Gitools

1. Load data from ArrayExpress to GenomeSpace.
-
Open (and log into, if needed) GenomeSpace.
-
Launch ArrayExpress from GenomeSpace by clicking the ArrayExpress icon in the toolbar.
-
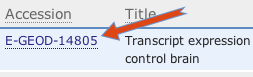
Search for ArrayExpress experiment data with gene expression data. As an example, we will search for a GEO glioblastoma dataset with the accession number GSE14805.

-
Open your selected experiment by clicking the experiment accession number.
-
Click the Send [experiment accession] data to GenomeSpace link.

-
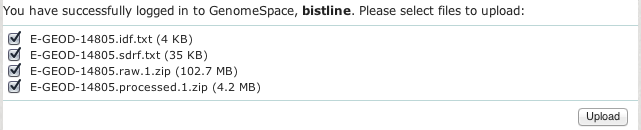
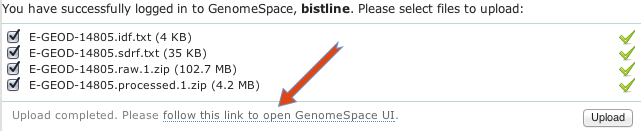
In the upload window, all of this experiment's files will be selected; you should clear the checkboxes for any files you do not want to upload to GenomeSpace. When all the experiment files you want to upload are correctly selected, click Upload.
-
When all your files are uploaded to GenomeSpace, you can click the follow this link to open GenomeSpace UI link to go to your GenomeSpace.
2. Create a GCT file from your ArrayExpress data in GenePattern.
-
Launch GenePattern from GenomeSpace by clicking the GenePattern icon in the toolbar.
-
If needed, click Sign in Using GenomeSpace.
-
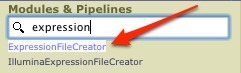
In the Modules & Pipelines search box, start typing ExpressionFileCreator, and click the name when it appears in the options dropdown under the box.
-
Click the GenomeSpace tab on the right side of the screen and navigate to the ArrayExpress data files you just saved to your GenomeSpace directory.

-
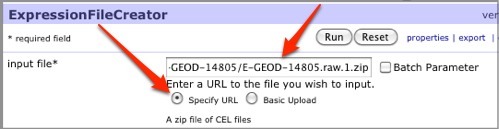
Under the input file parameter in the center pane, select the Specify URL radio button, then drag your expression dataset ZIP file (containing CEL files) from the GenomeSpace tab and drop the file into the input file parameter field. In the case of our example, this is the E-GEOD-14805.raw.1.zip file.
-
In the method parameter, select MAS5.
-
In the value to scale to, enter 2.
-
Click Run.
-
When the job finishes running, click the blue down-arrow next to the resulting GCT file and select Save to GenomeSpace.
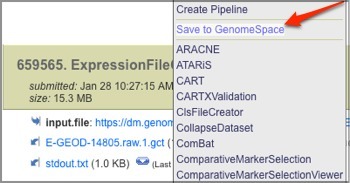
-
Select a GenomeSpace directory in which to save the file and click Select.
3. Visualize the GCT file in Gitools.
-
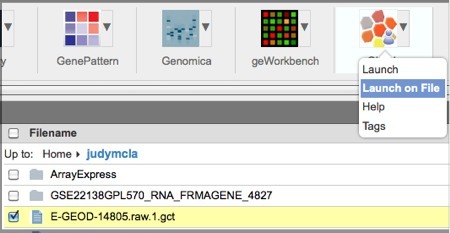
Select the GCT file in GenomeSpace.
-
Click the down-arrow next to the Gitools icon in the toolbar and select Launch on File.
-
In the dialog box, click Launch.
-
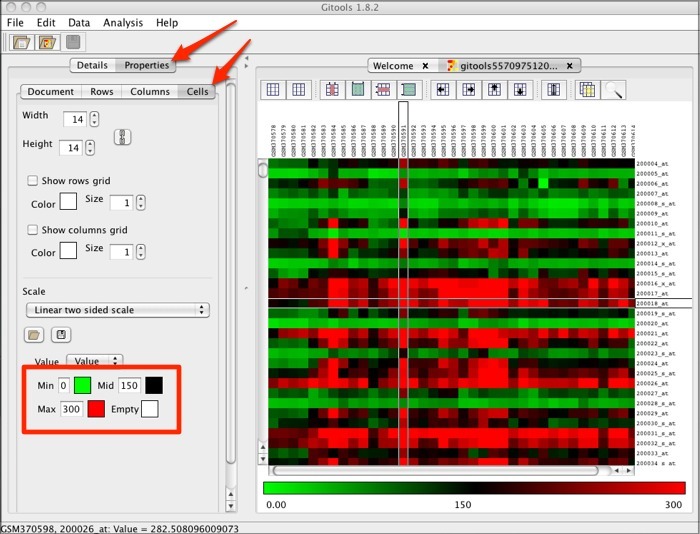
In the Gitools heatmap, if you are using the example data or your own data file that has expression values rather than logarithmic values, you will need to adjust the properties. Click the Properties tab and the Cell tab. Under Scale, set the Min value to 0, the Mid value to 150, and the Max value to 300. Click the box for Mid and select black as the color.
This will result in a heatmap resembling the following:
Send Data from Galaxy to IGV

If GenomeSpace does not know how to convert a file you are sending, it will display the  icon next to the file name. You can still send the file, but the receiving tool may not be able to accept it.
1. Send your file from Galaxy to GenomeSpace.
-
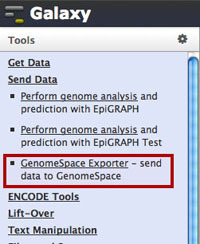
In Galaxy, select Send Data under Tools.
-
Select GenomeSpace Exporter under the Send Data section.
-
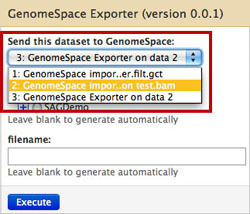
Select the dataset you want to send in the drop-down menu.
-
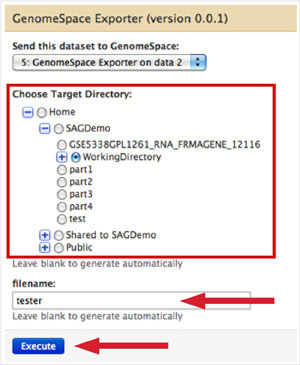
Select the GenomeSpace directory to which you want to send the file.
-
Name the file if you want (including the extension); otherwise, the name will be autogenerated.
-
Click Execute.
2. Send file from GenomeSpace to IGV.
-
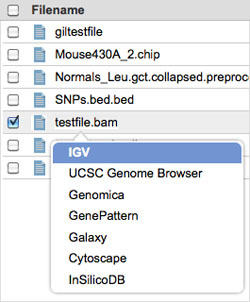
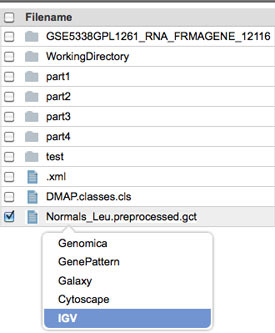
In GenomeSpace, left-click the file you just sent from Galaxy.
-
Select IGV.
-
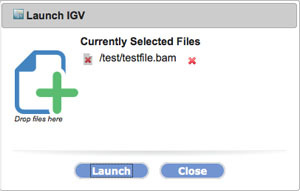
Click Launch.
Send Data from GenePattern to IGV

If GenomeSpace does not know how to convert a file you are sending, it will display the icon next to the file name. You can still send the file, but the receiving tool may not be able to accept it.
1. Send your file from GenePattern to GenomeSpace.
-
In GenePattern, click the down arrow next to the job results file you want to send to IGV.
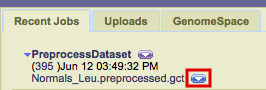
-
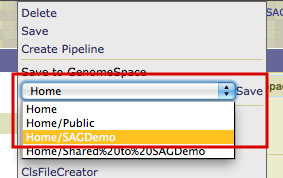
In the menu within the drop-down menu, select the location in your GenomeSpace directory structure in which you'd like to save the file and click Save.
2. Send your file from GenomeSpace to IGV.
-
Left-click on the file you just uploaded to GenomeSpaceand select IGV.
-
In the dialog box that appears, click Launch.
Send Data from Genomica to GenePattern

If GenomeSpace does not know how to convert a file you are sending, it will display the icon next to the file name. You can still send the file, but the receiving tool may not be able to accept it.
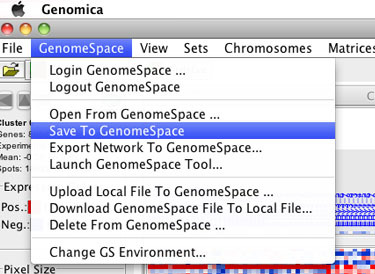
1. Send your file from Genomica to GenomeSpace.
-
Select GenomeSpace>Save to GenomeSpace.
-
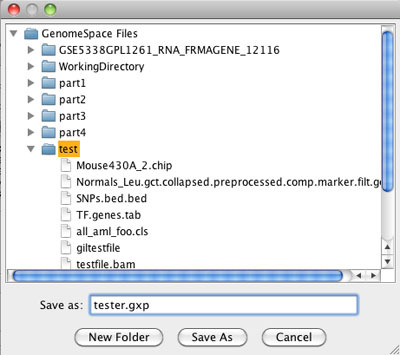
In the file browser, select the GenomeSpace directory where you want the data file to be saved, enter a file name, and click Save As.
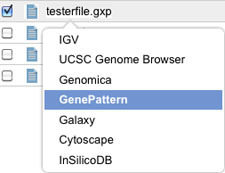
2. Send file from GenomeSpace to GenePattern.
-
Left-click on the file you just uploaded from Genomica and select GenePattern.
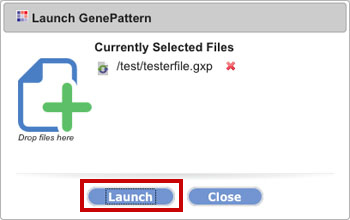
-
In the dialog box, click Launch.
3. Save the file in GenePattern.
-
Click Sign in Using GenomeSpace.
-
You will be presented with the choice Save a Copy: Upload Directory.
-
Click Submit. You can now use this file from your GenePattern Uploads tab.
-
OR, where it says Send to Module as, you can select a module from the drop-down menu and click Submit. This will add the file to the appropriate parameter field in the selected module.