Tool Guide
|
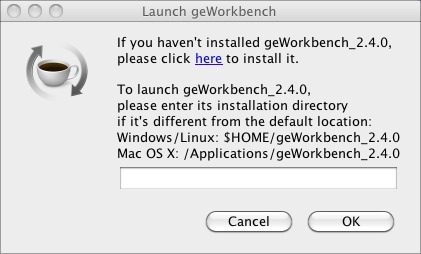
geWorkbenchProject Website: http://wiki.c2b2.columbia.edu/workbench/index.php/Overview geWorkbench is an open-source bioinformatics platform that offers a comprehensive and extensible collection of tools for the management, analysis, visualization, and annotation of biomedical data. Many kinds of analysis are supported. For microarrays, there are tools for filtering and normalization, basic statistical analyses, clustering, network reverse engineering, as well as many common visualization tools. For sequence data, there are routines such as BLAST, pattern detection, transcription factor mapping, and syntenic region analysis. geWorkbench provides access to a variety of external data sources, including microarray gene expression repositories (caArray), BLAST, gene annotation pages (via caBIO),protein and DNA sequence retrieval, and pathway diagrams (BioCarta), as well as acting a gateway to several computational services currently hosted on Columbia servers and clusters, including Pattern Discovery, Pudge (protein structure modeling), and SkyBase (database of molecular models). Logging InWhen you launch geWorkbench from GenomeSpace, you will se the Launch geWorkbench dialog.
If you have installed geWorkbench in the default location previously, click OK. This will launch geWorkbench. If you have never used geWorkbench before, or have not used the current version of geWorkbench, you need to install it. Installing geWorkbenchIf you have never used geWorkbench before, you can use the prompt you receive when you launch it from GenomeSpace to install it. If you have used it and installed it in a non-standard directory, you can point GenomeSpace to that location in the prompt dialog. To install geWorkbench:
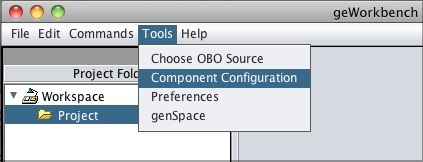
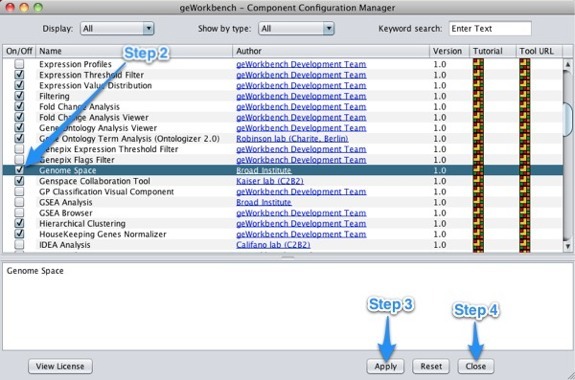
Enabling GenomeSpace Within geWorkbenchTo access GenomeSpace in geWorkbench, enable the GenomeSpace component using the Component Configuration Manager.
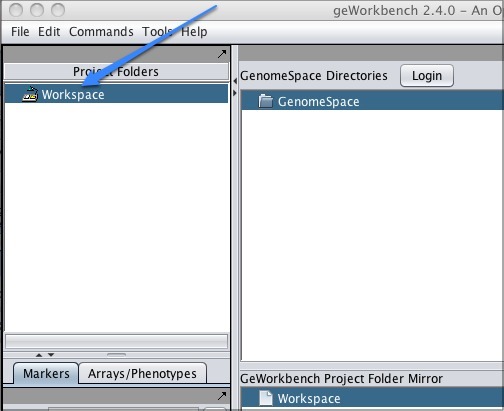
Using GenomeSpace in geWorkbenchWhen you click Workspace in the upper left corner of the screen, the GenomeSpace pane will appear to the right.
Log in by clicking the Login button next to the GenomeSpace Directories header, and now the GenomeSpace pane will display your directories.
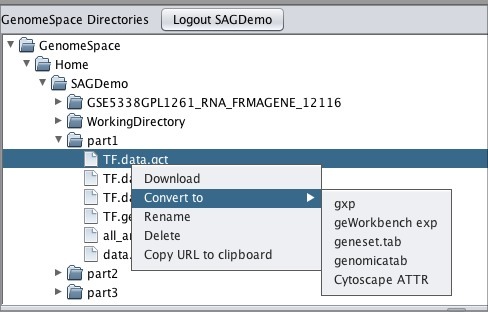
You can work with your files within GenomeSpace:
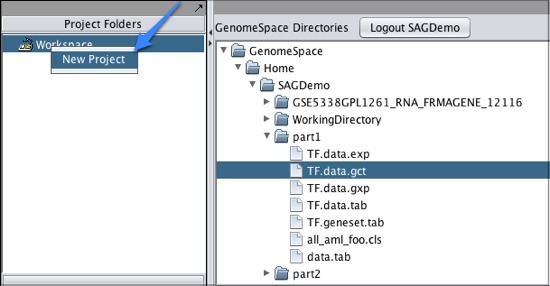
Moving Files From GenomeSpace to geWorkbenchTo move one of your GenomeSpace files into geWorkbench:
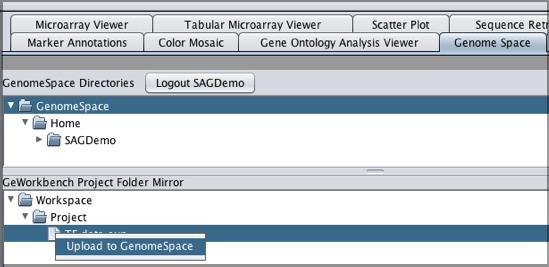
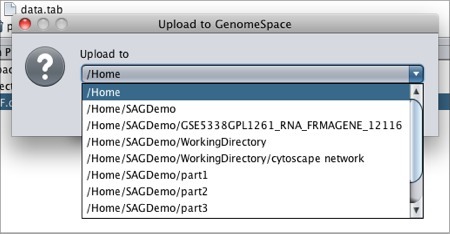
Note that if you download a file that is not in a geWorkbench file format, GenomeSpace will convert it if there is a converter available. Moving Files from geWorkbench to GenomeSpaceTo move files from geWorkbench to GenomeSpace:
|
||||
|
<< Genomica | Up | Gitools >> | |||||